


How to Seal a Heat Induction Seal Liner Using a Manual Heat Induction Sealing Machine
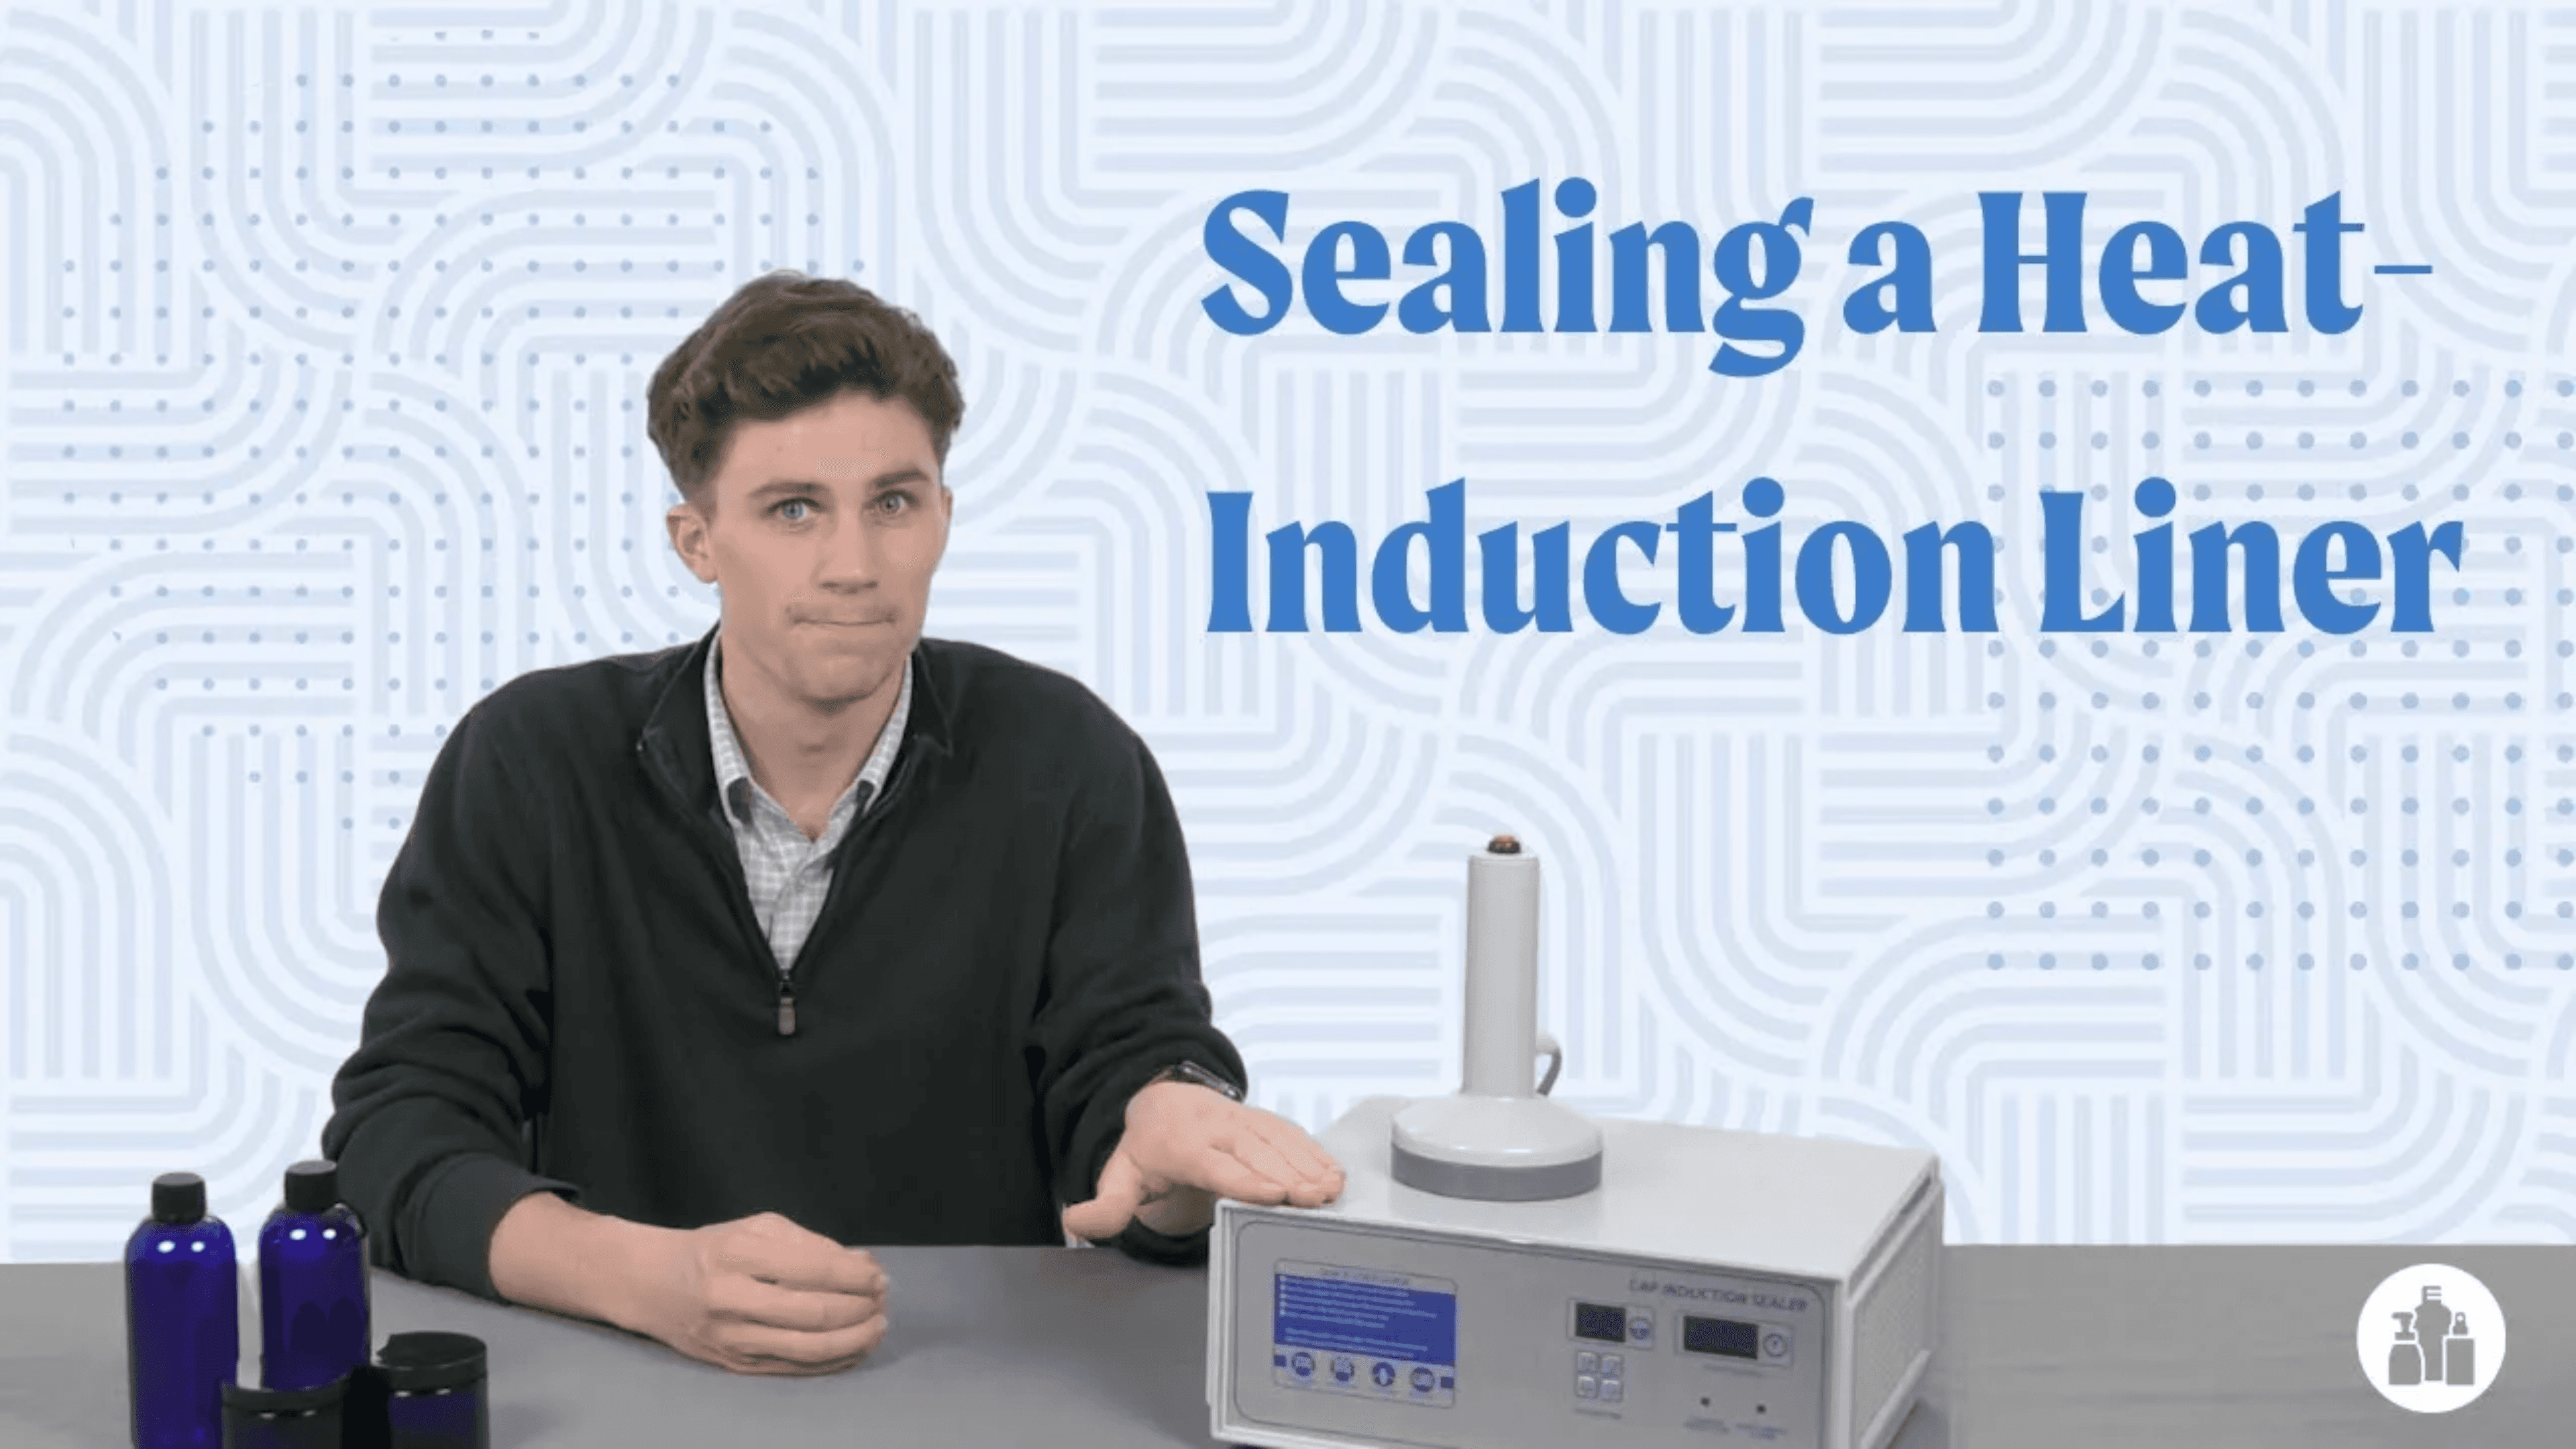

How to Seal a Heat Induction Seal Liner Using a Manual Heat Induction Sealing Machine
Ever wanted to harness electromagnetic waves to keep your peanut butter from leaking? You're in the right place. Welcome to the wonderful world of heat induction sealing!
Whether you're in the food, pharmaceutical, or cosmetic industry, an airtight, tamper-evident seal is key to maintaining product integrity and customer trust. If you've got a manual heat induction sealing machine but aren't sure where to start, we’ll walk you through it.
What is Induction Sealing?
Induction sealing, also known as cap sealing, is a non-contact method that uses electromagnetic energy to heat a metallic disk (usually an aluminum foil liner) and create an airtight bond between the liner and the container. This method is widely used to ensure freshness, prevent leaks, and provide tamper evidence.
How to Apply a Manual Heat Induction Sealer - Overview
Inspect the container’s rim. Ensure it is flat, smooth, and clean.
- Check the liner. Make sure the foil liner is inside the cap.
- Secure the cap. Tighten it properly onto the container.
- Adjust the power setting. Set between 100-115 volts based on container type.
- Set the timer. 1-2 seconds is usually ideal for sealing.
- Position the sealer. Hold the induction head directly over the cap.
- Press the activation button. Wait for the machine to beep.
- Inspect the seal. Ensure the liner is bonded to the rim of the container.
This quick process creates a strong, tamper-evident seal in seconds.
Step-by-Step Guide to Sealing with a Manual Heat Induction Sealer
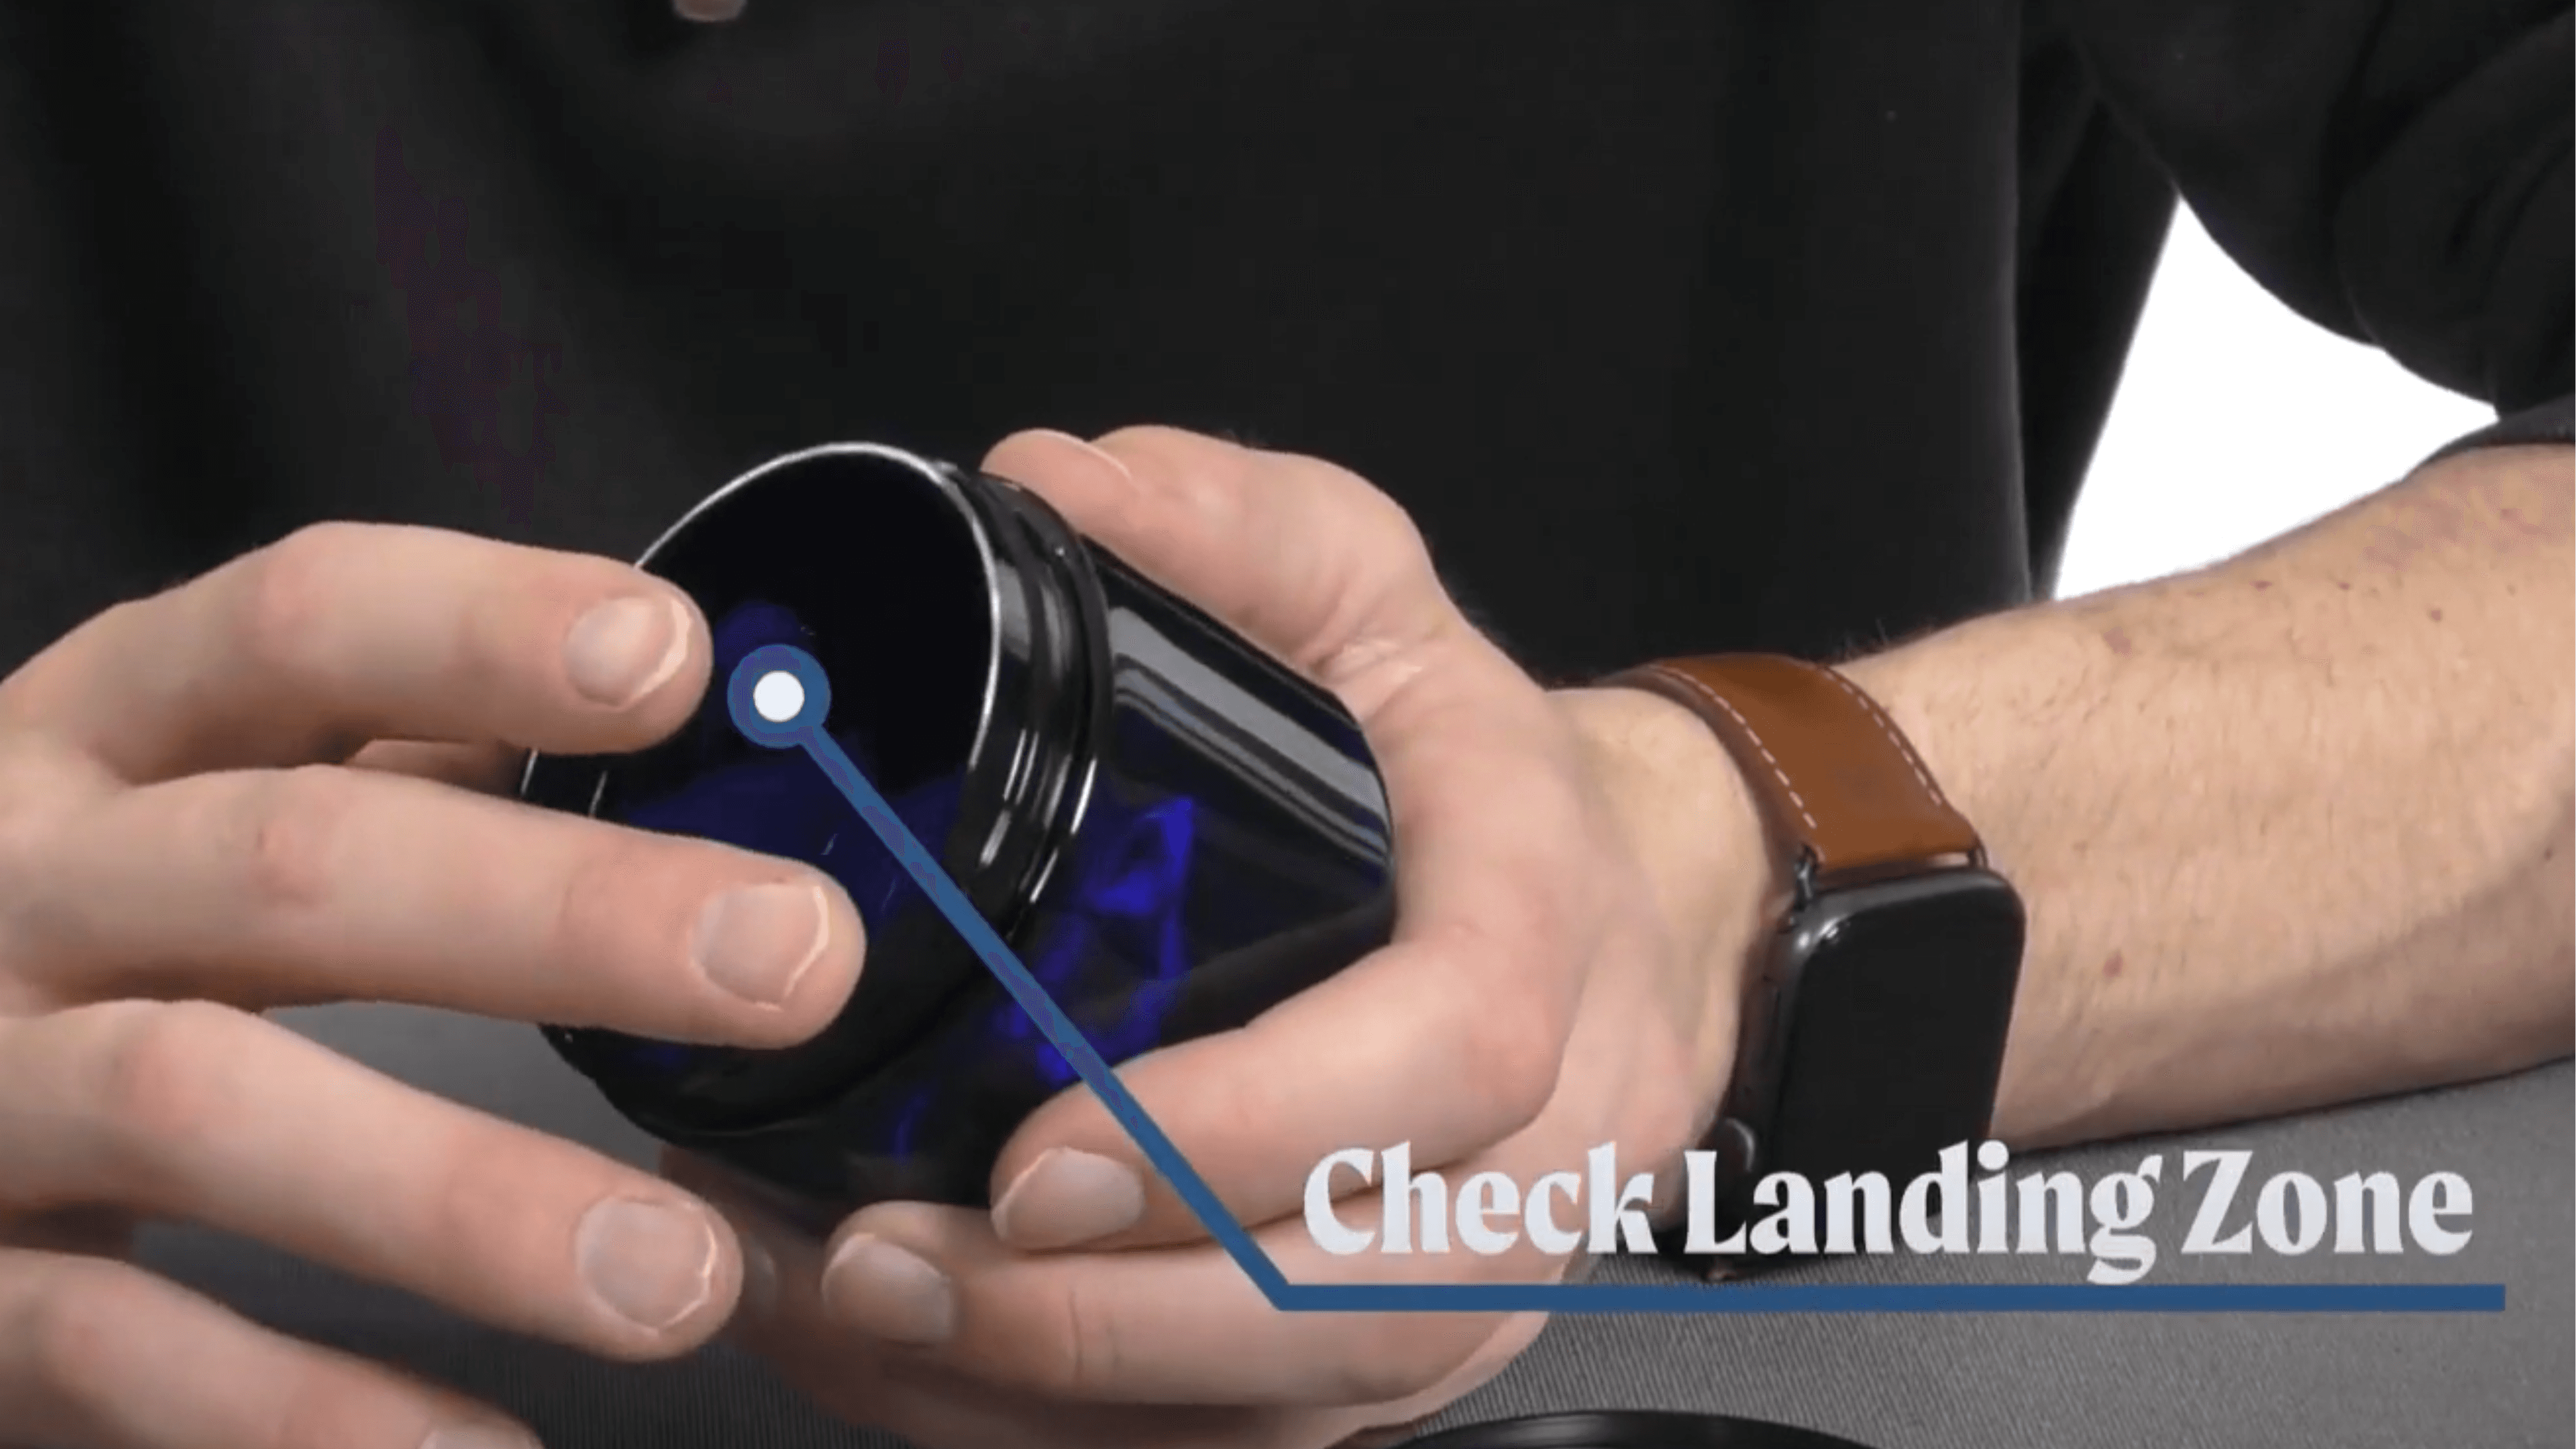
Step 1: Check the Landing Zone
Before you start sealing, inspect the rim (or landing zone) of your container. It should be:
Flat – No bumps, dents, or irregularities that might prevent even sealing.
Smooth – Free of rough edges or mold defects.
Clean – Any dust, oil, or residue could interfere with adhesion.
A clean, smooth landing zone ensures a strong bond between the liner and the container.
Step 2: Ensure the Liner is Properly Placed
Most induction liners come pre-inserted in caps, but it’s always good practice to double-check:
The liner is in the lid. If it’s missing, the induction process won’t work.
The lid screws on properly. A snug fit is crucial. Too loose, and the seal may not adhere; too tight, and the container might warp under pressure.
Remember: the tighter you hold on, the more likely she is to leave.
Step 3: Set the Correct Power Level
Your manual induction sealer likely operates within a voltage range of 100 to 115 volts, but the ideal setting can vary based on your container’s material and liner type. The goal is to generate just enough heat to activate the liner without scorching it.
Too low? The liner won’t seal properly.
Too high? The liner becomes difficult to remove, or worse—you might start seeing smoke.
Start at the lower end and gradually increase power as needed.
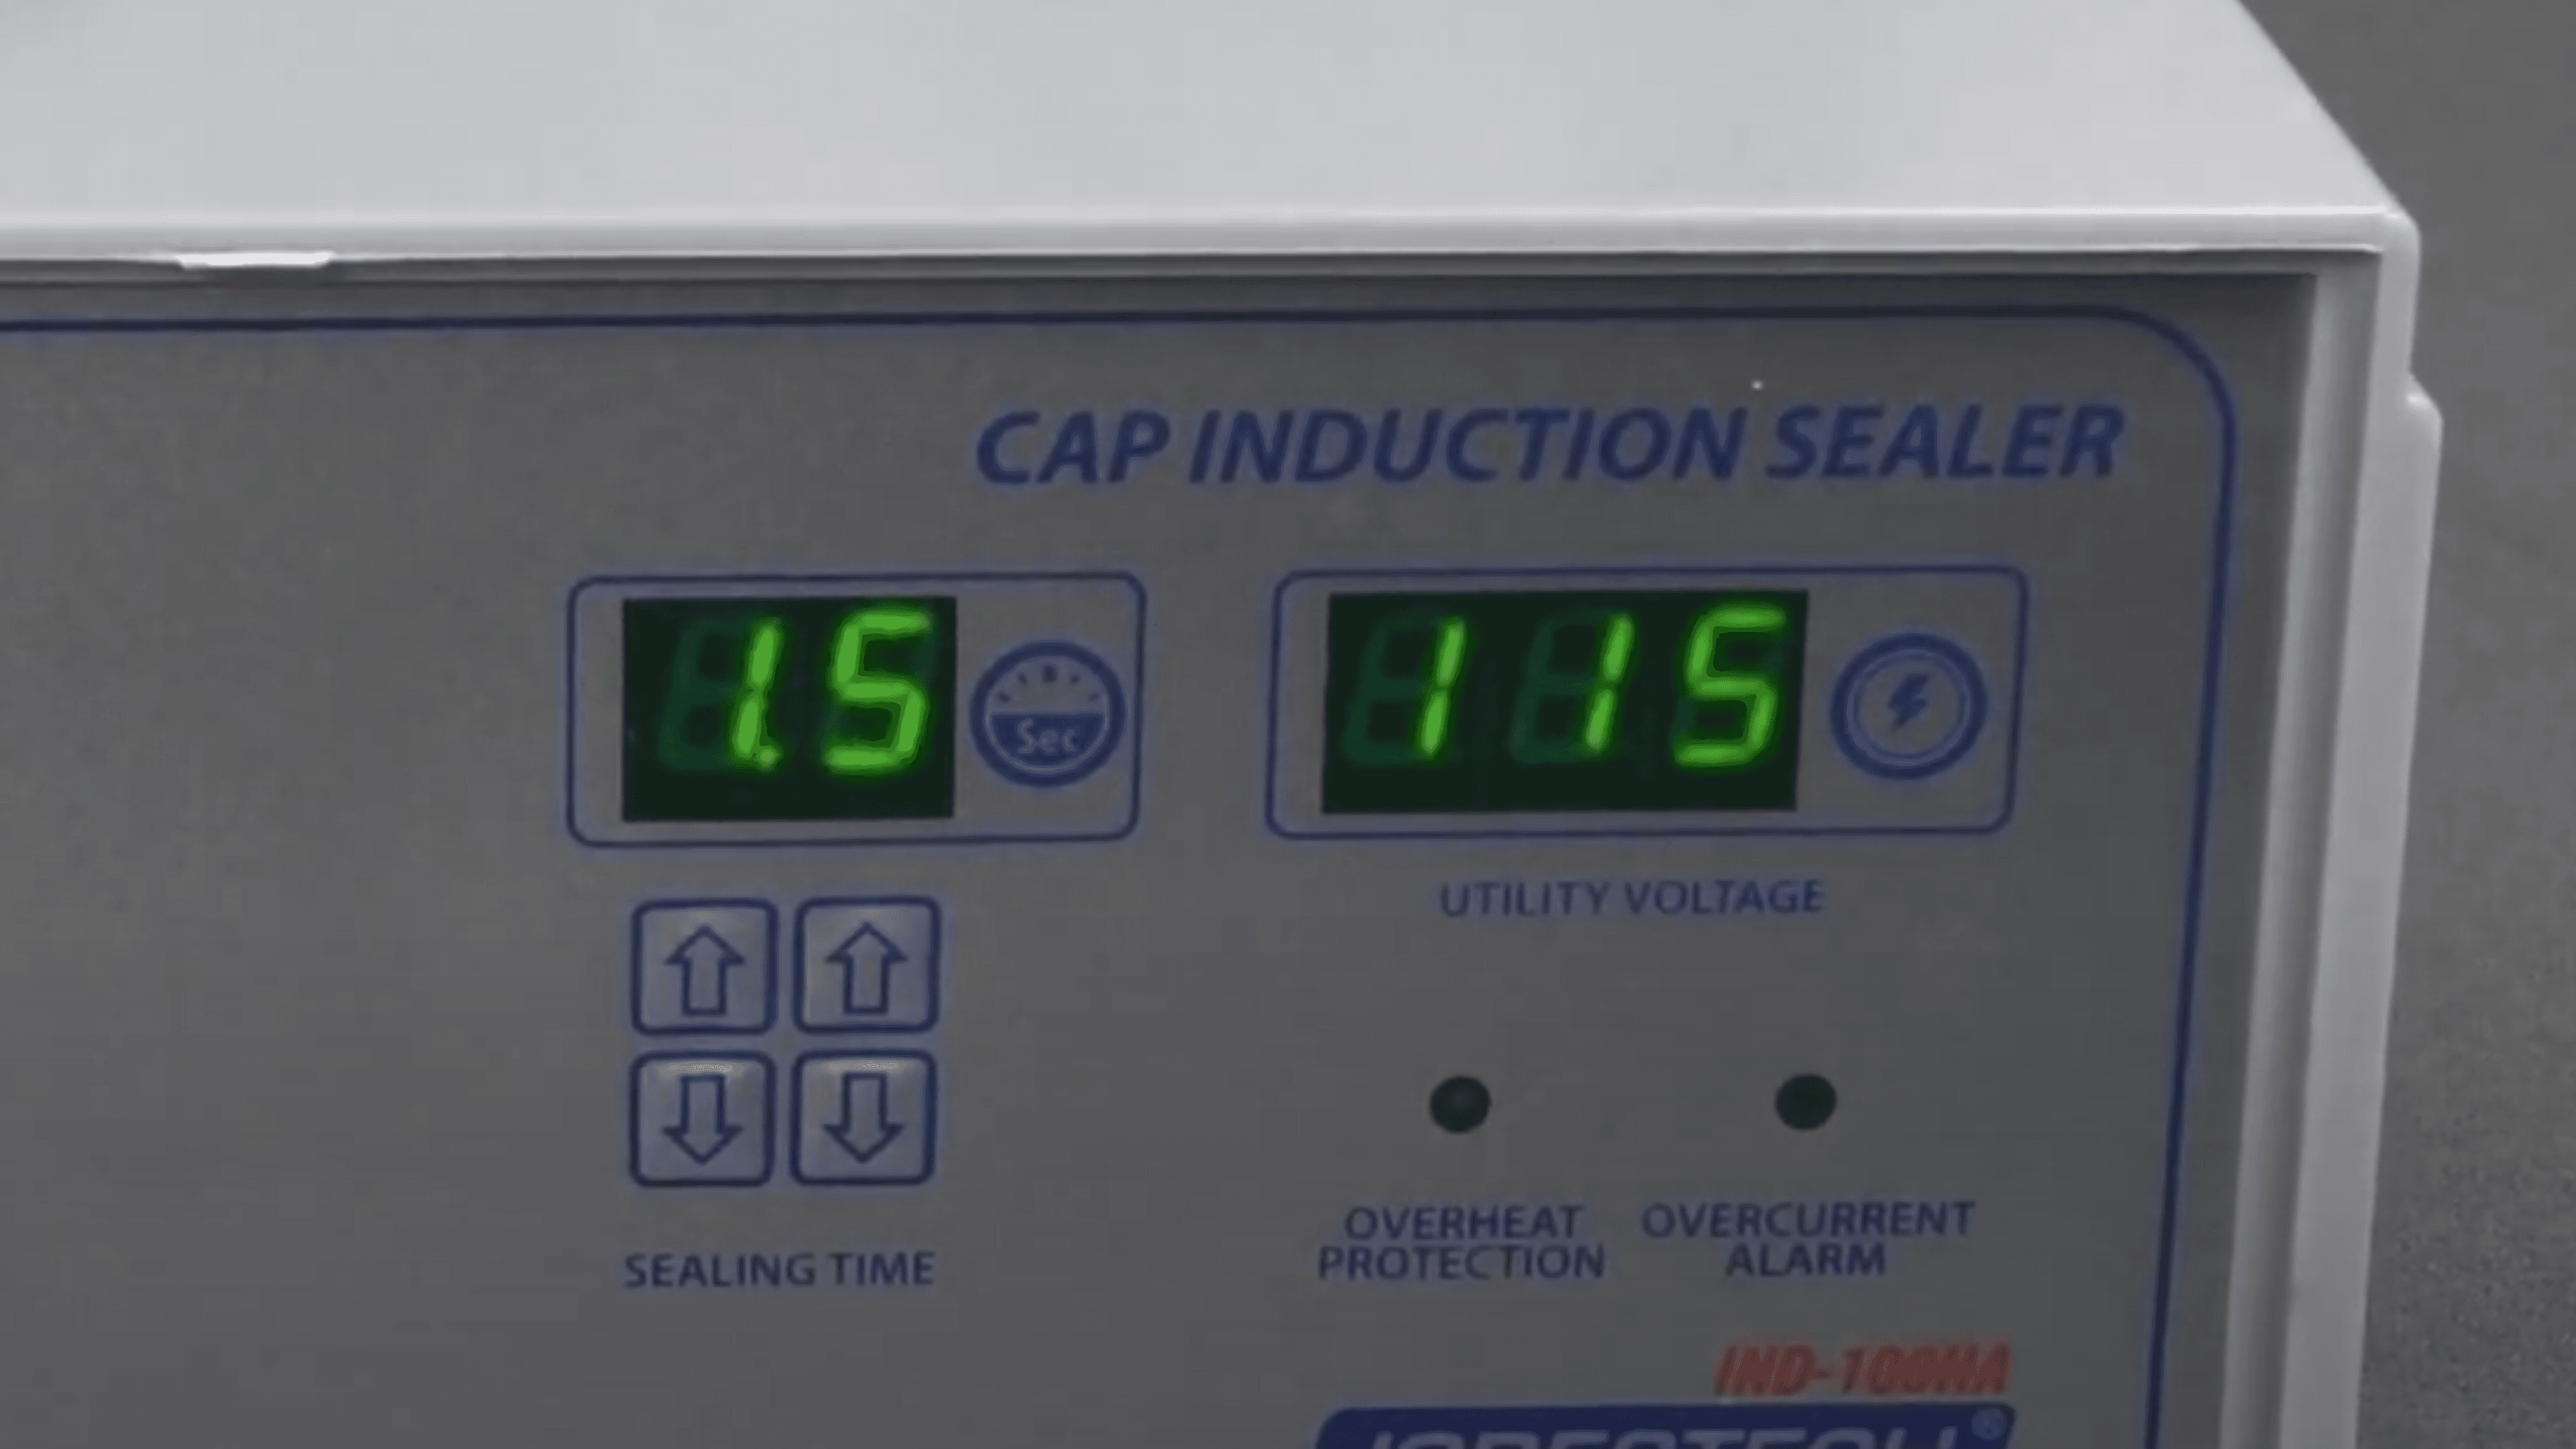
Step 4: Time it Right
When it comes to sealing, time is everything. Most manual induction sealers require 1 to 2 seconds per container. Again, timing varies based on materials, but here are general guidelines:
Too short? The seal won’t hold.
Too long? You’ll overheat the liner, and the next thing you know, you’re sending smoke signals instead of sealing containers.
Always run a test batch before full production to fine-tune your settings.
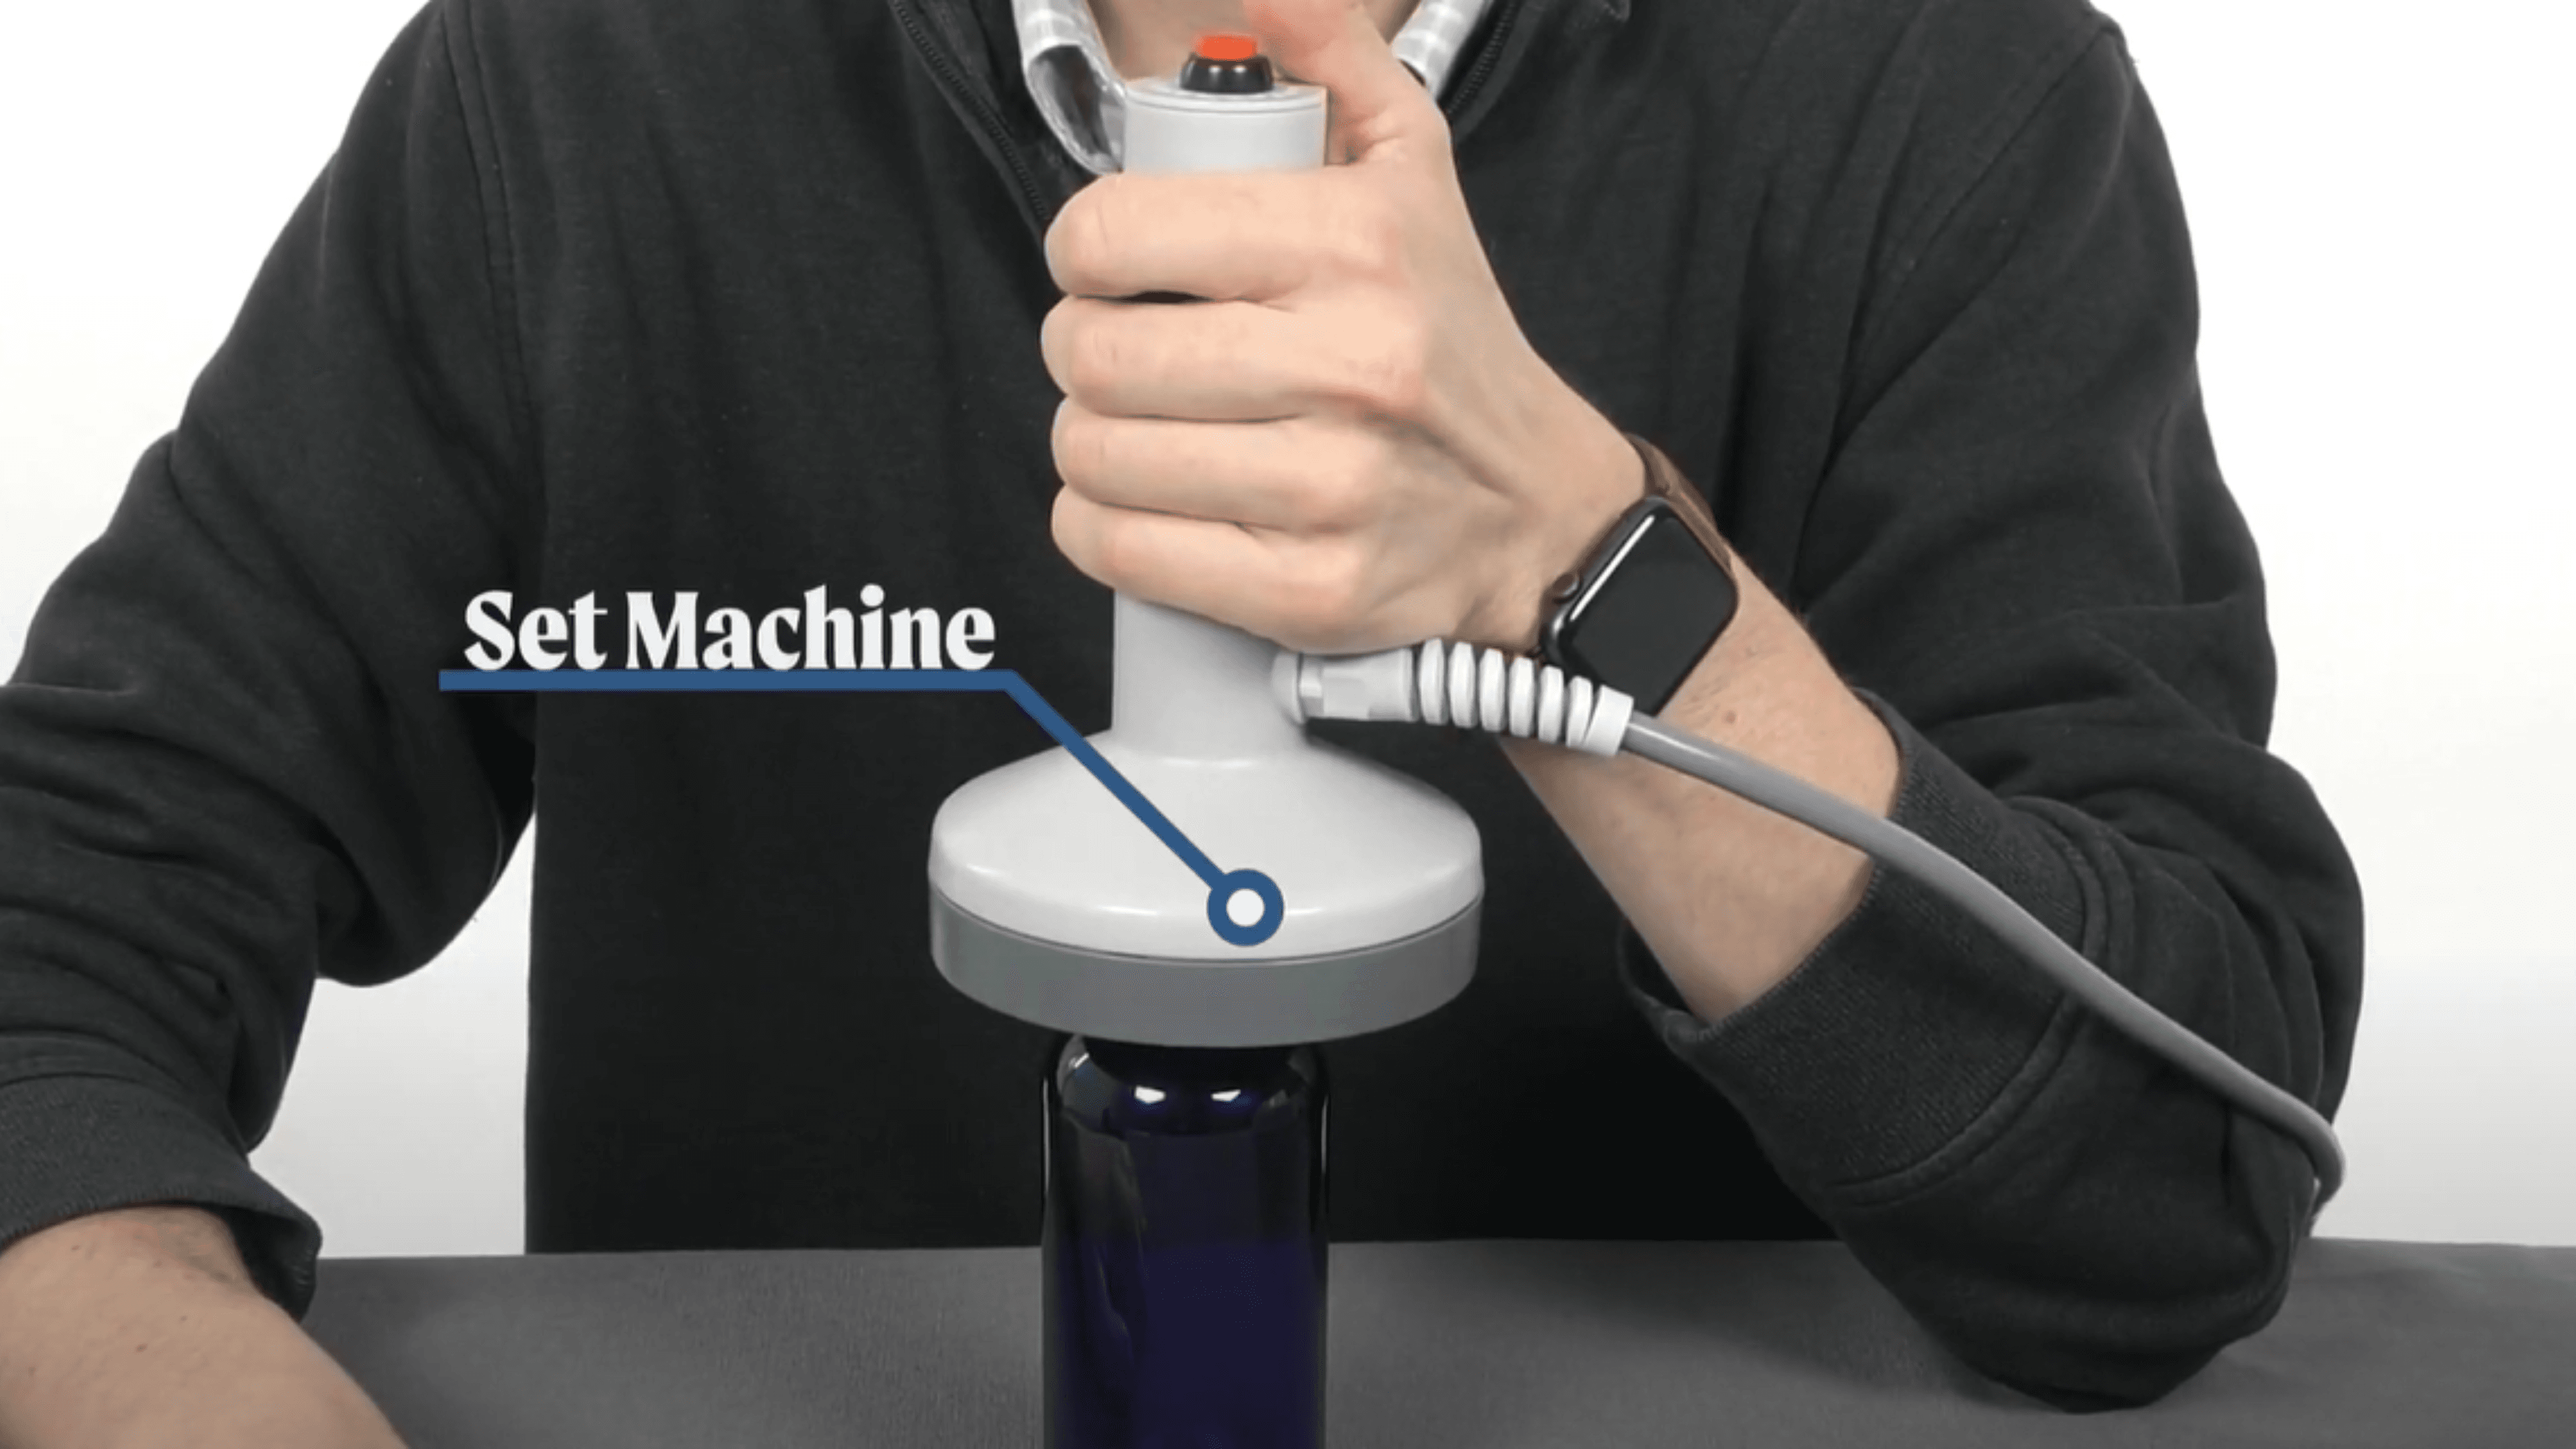
Step 5: Don’t Treat it Like a Panini Press
This isn't a grilled cheese situation—you don’t need to press the machine onto the seal. Instead:
Place the induction sealing head over the cap. Make sure it’s properly aligned.
Press the activation button. (It’s usually a big red button—hard to miss!)
Wait for the beep. This indicates that the process is complete.
Check the seal. Peel back the liner slightly to confirm adhesion.
How Induction Sealing Works Behind the Scenes
If you’re curious about the science behind it, here’s what happens in those crucial seconds:
The induction coil generates an electromagnetic field.
The aluminum foil liner absorbs this energy and heats up.
The heat melts the wax layer, which absorbs into the pulp backing, releasing the foil.
The polymer layer softens and bonds with the container’s rim.
As it cools, a hermetic seal forms, ensuring freshness and preventing leaks.
All of this magic happens without directly heating the container or its contents—pretty impressive, right?
Common Induction Sealing Mistakes & How to Avoid Them
Even with the right equipment, things can go wrong. Here are some common pitfalls and how to fix them:
Seal Won’t Stick? Check if the landing zone is clean and dry, and confirm your power and timing settings.
Seal Too Hard to Remove? You may be using too much heat. Lower your power setting or reduce exposure time.
Seal Melts or Warps? That’s a clear sign of excessive heat. Adjust accordingly.
Liner Comes Off with the Cap? This suggests that the wax hasn’t fully melted into the backing. Increase the heat slightly.
Why Induction Sealing is a Game-Changer
Induction sealing isn’t just about keeping your product inside the container. It also provides:
Tamper evidence – Customers can instantly see if a product has been opened.
Leak prevention – No more sticky messes in transit.
Extended shelf life – A proper seal keeps products fresh for longer.
Regulatory compliance – Many industries require tamper-evident packaging.
Induction Seals vs. Pressure-Sensitive Liners
Both induction seals and pressure-sensitive liners serve as sealing solutions, but they function differently. Pressure-sensitive liners rely on adhesive to form a seal, making them easy to apply without heat. However, they may be prone to leaks, less tamper-evident, and more vulnerable to environmental factors like moisture and temperature changes. Over time, the adhesive can weaken, compromising the seal.
Induction seals, on the other hand, create a true hermetic bond by fusing a polymer layer to the container’s rim. This results in:
A stronger, more reliable seal
Better protection against contamination
Greater resistance to heat and humidity
While pressure-sensitive liners can be a convenient option, induction sealing is the preferred choice for industries requiring airtight, tamper-evident packaging and long-term product integrity.
Final Thoughts
Mastering a manual heat induction sealer takes a bit of practice, but once you’ve got the settings dialed in, it’s a fast and reliable way to create tamper-evident, leak-proof packaging. Whether you’re sealing food, pharmaceuticals, or cosmetics, induction sealing helps protect your products and gives customers confidence in their purchase. If you need further guidance, feel free to reach out, we’re happy to help!