


Heat Induction Seals: The mystery explained!

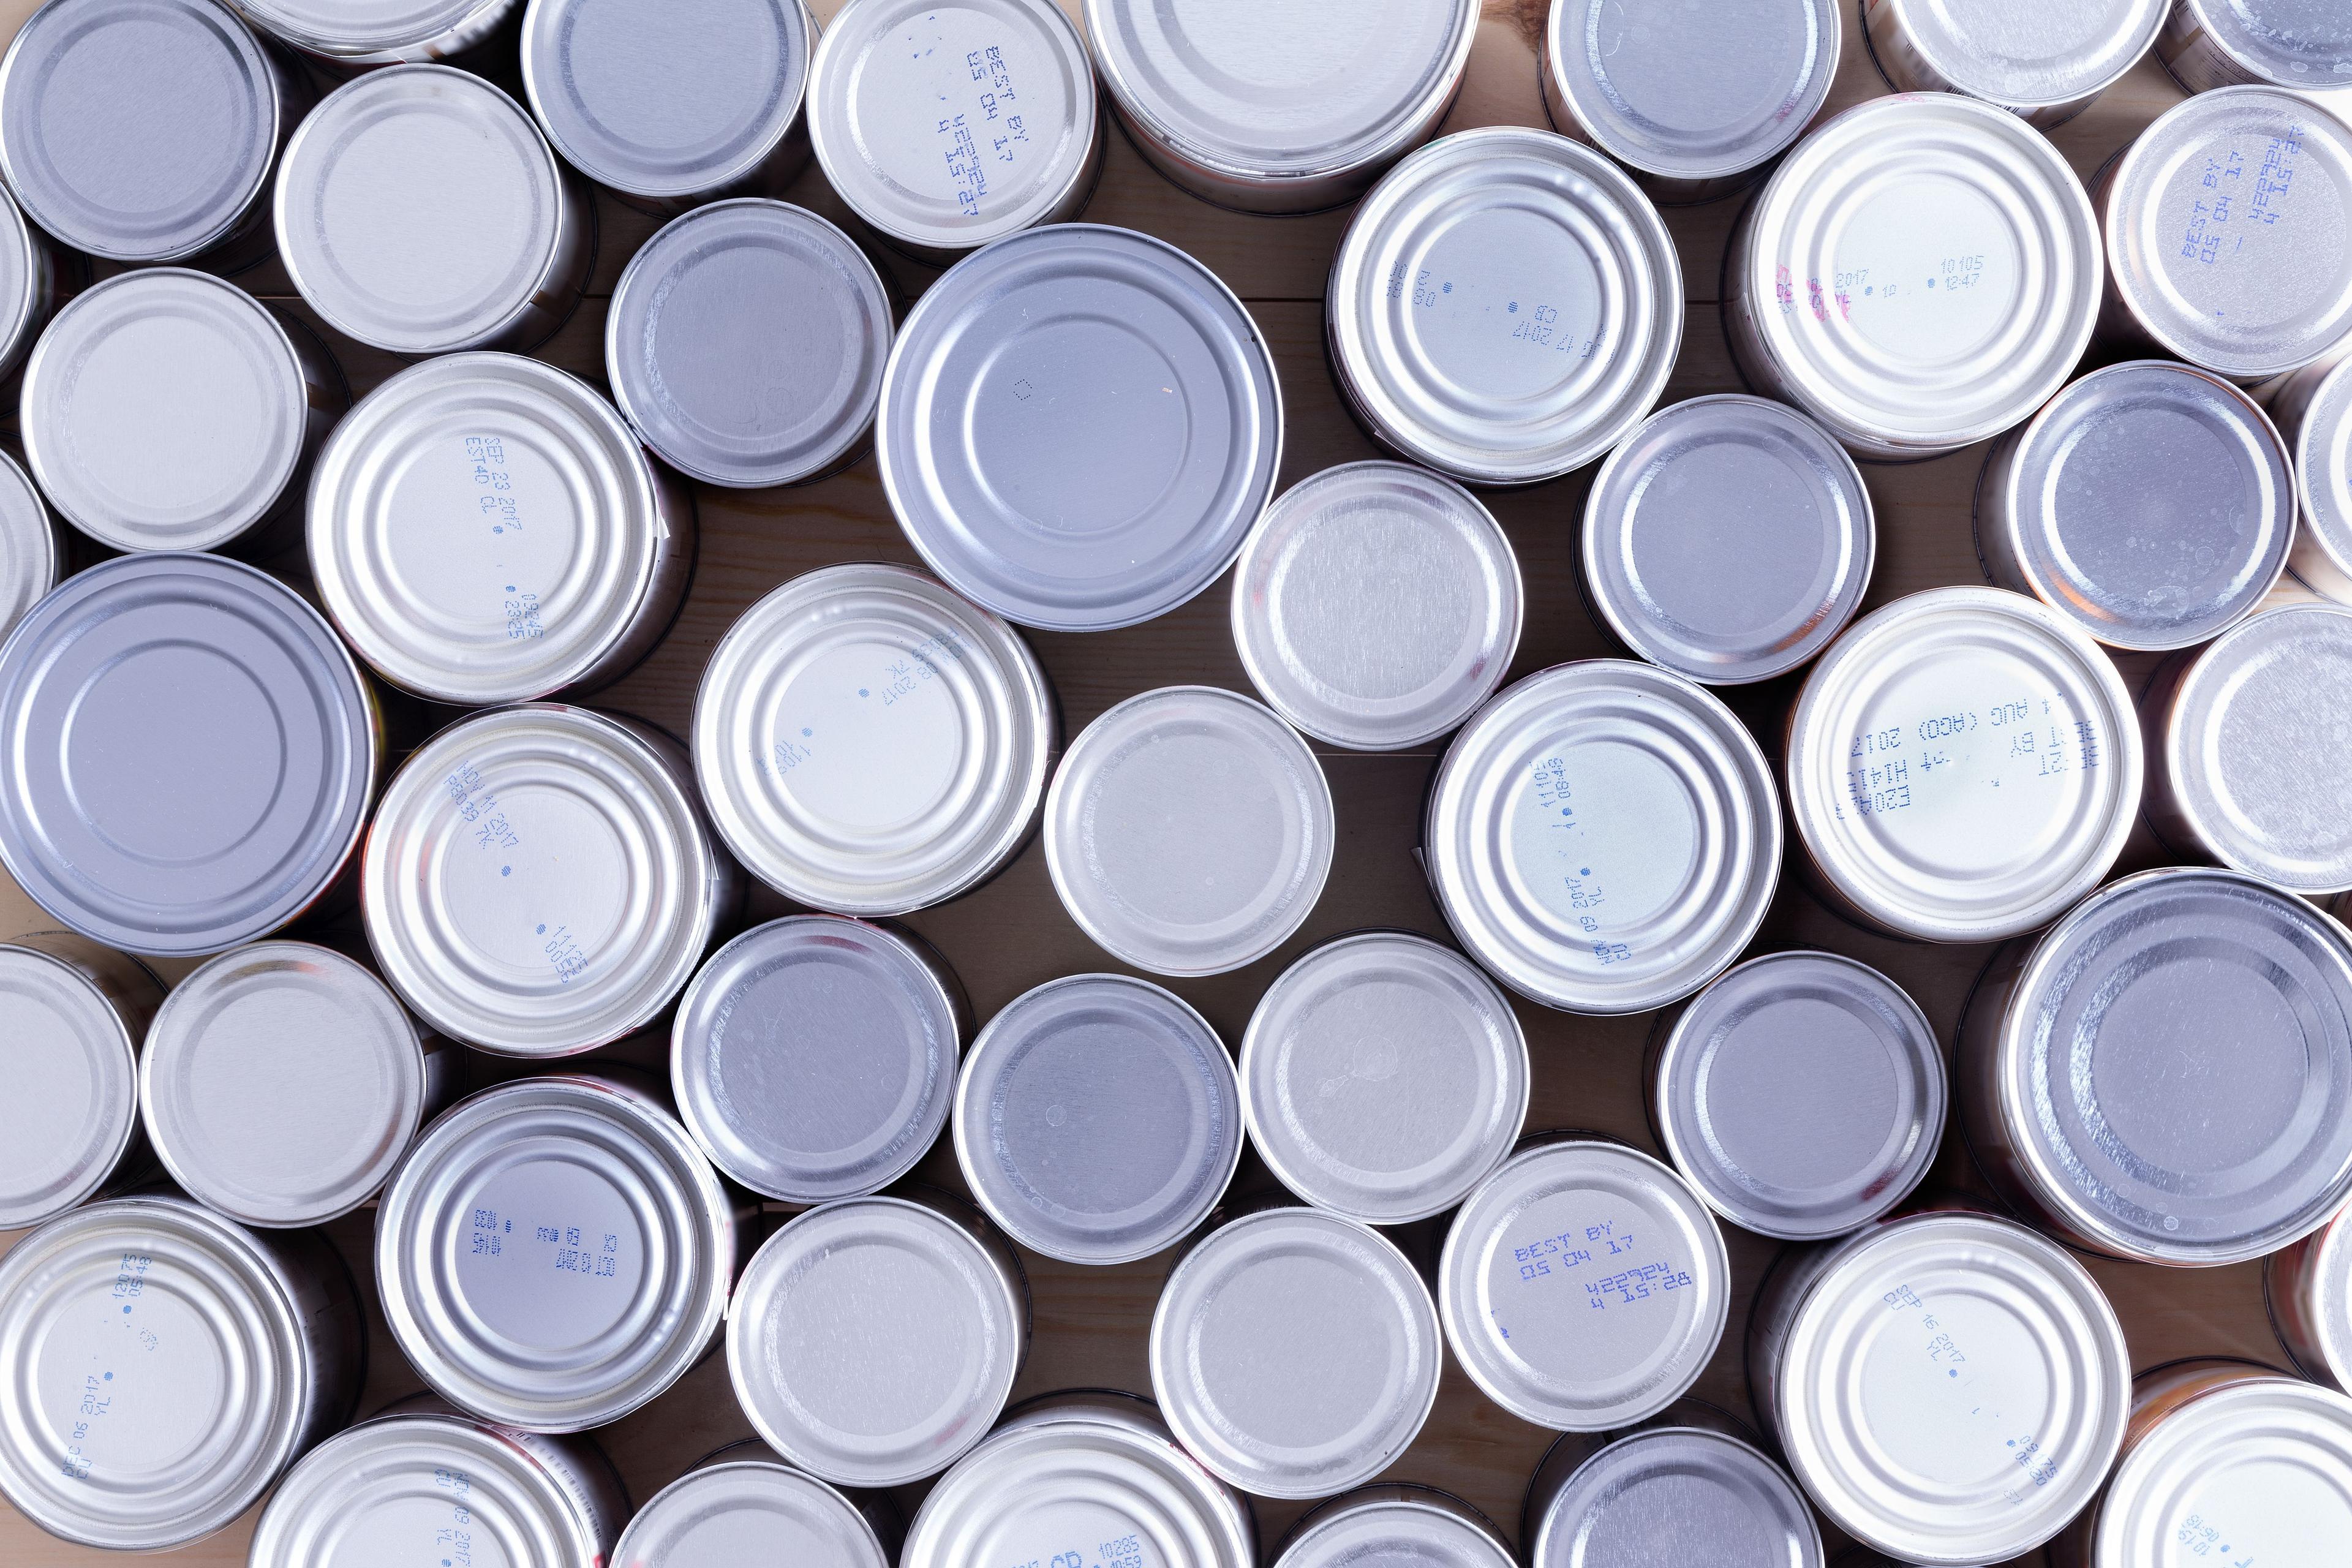
You've seen them covering the opening of peanut butter jars and they often block your way to pain relievers when a pounding headache lingers. A heat induction seal (HIS) is a silver liner that greets you with shining tamper evidence, promising the product hasn't been interfered with in any way. Not to mention working to preserve product freshness and extend shelf-life. Believe it or not, these liners have a purpose other than to annoy the hungry and desperate.
 |
| 2-Piece Foil HIS liner Photo courtesy of Enercon |
A typical heat induction seal liner is comprised of four layers, each strategically designed and situated. The first ply, the portion of the liner that will nest against the inside of the lid is a pulp paperboard product. Next lays a blanket of wax, important to the liner's composition because it binds the paperboard to the third tier; the aluminum foil, the element that will adhere to the container. Beneath the aluminum foil the liner is completed with a plastic film-like sheet of polymer. Together these four components work together to achieve the dynamics necessary for successful induction, resulting in a hermetic, or airtight seal.
So, how does a loose liner made from four different components end up attached to a jar in your pantry? Contrary to what countless consumers might believe, the seal didn't magically appear. The peanut butter company didn't fill their jars, tightly twist a lid and shake the container over their head for three and a half minutes, and poof, a heat induction seal is revealed. Nah, the process is a bit different than that.
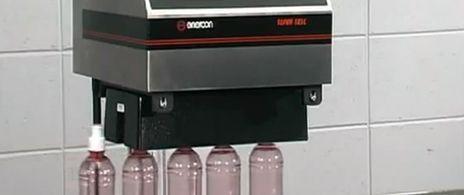
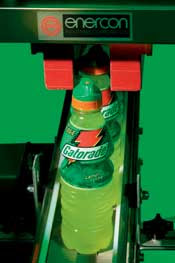
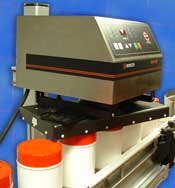
Containers preparing to take on an induction seal liner should be filled and capped with a HIS lined closure (browse our HIS selection, available in various sizes, colors and styles), appearing as if they are ready to be showcased on a store display. That's the cue for the induction machine. Whether it's a hand-held edition for small runs or a top-of-the-line deluxe unit equipped for major productions, every induction sealing machine consists of two essential parts, a power supply and a sealing head.
Power supplies are similar from model to model, while sealing heads are varied and specialized, dependent upon the specifics of the closure being sealed. There are three standard sealing head options, flat head, tunnel head and all-in-one.
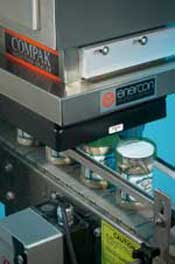 |
| FLAT SEALING HEAD Photo courtesy of Enercon |
Flat sealing heads are conducive to a wide sealing area, making it the sealing head of choice for substantial closures, 53mm and larger.
 |
| TUNNEL SEALING HEAD Photo courtesy of Enercon |
Tunnel sealing heads narrow the electromagnetic field allowing for focused application as small containers are fed through a tunnel-like passageway.
 |
| ALL-IN-ONE SEALING HEAD Photo courtesy of Enercon |
All-in-one sealing heads are just what they are described to be. The apparatus is furnished with four different size options, making it capable of processing closures ranging from a small 28mm to a massive 120mm.
Let's head back to the assembly line where our containers are awaiting their sealing metamorphosis. The power supply is engaged as the machine is activated. Electrical frequencies are generated, followed by the transfer of current to the sealing head. The current is directed at the liner, inciting a different reaction from each of the four layers.
- The electromagnetic presence causes the foil to shake.
- Heat generated through the process softens and melts the wax.
- The paperboard absorbs the wax, erasing the connective binding between the first and third layers.
- Lastly, the bottom sheet of polymer melts against the container's orifice, bringing the foil along with it, securing the liner over the opening.
- The final result is a firmly sealed foil liner that must be removed before a consumer can use the product, along with a paperboard liner that will remain in the lid through multiple uses.
The mystery of heat induction liners is explained and the truth is; it's not nearly as complicated as many assume. Take a look at our HIS lined closures and let us know if you have any questions!